- Cutting the Sphere
- Preparing and CNC Cutting
- Folding and Bending Alucobond
- Milling the Sphere
- Polish and Latex the Sphere
Cutting the Sphere - We decided that the best way to cut the sphere would be to rig it up in something to fasten it as best we could, then run it though the band saw. The recording of the cutting as too long to upload, but here is the setup we used and photos of the results.


Preparing and CNC Cutting - It doesn't take much to get the Alucobond cut, once the prep work is done.Working from the CAD model I made earlier made it easy to draw up a sketch over the flat pattern and drop in some lines which could be used as a path for the milling machine to follow.. The most complex part was getting,


Folding and Bending Alucobond - Once all the cutting was complete, I separated each part from the sheet by cutting the bridges that are left behind to make sure the parts don't move while cutting is still happening. Folding along the corners was easy, however folding the edges that covered the ends of the sheet was not. I used a mallet, clamps and a piece of scrap material to beat the thin aluminium around to cover the ends of the sheet. Once all teh folding was complete, I also used araldite to adheer some small brackets that I'd 3D printed to keep the folds at a consistent angle.


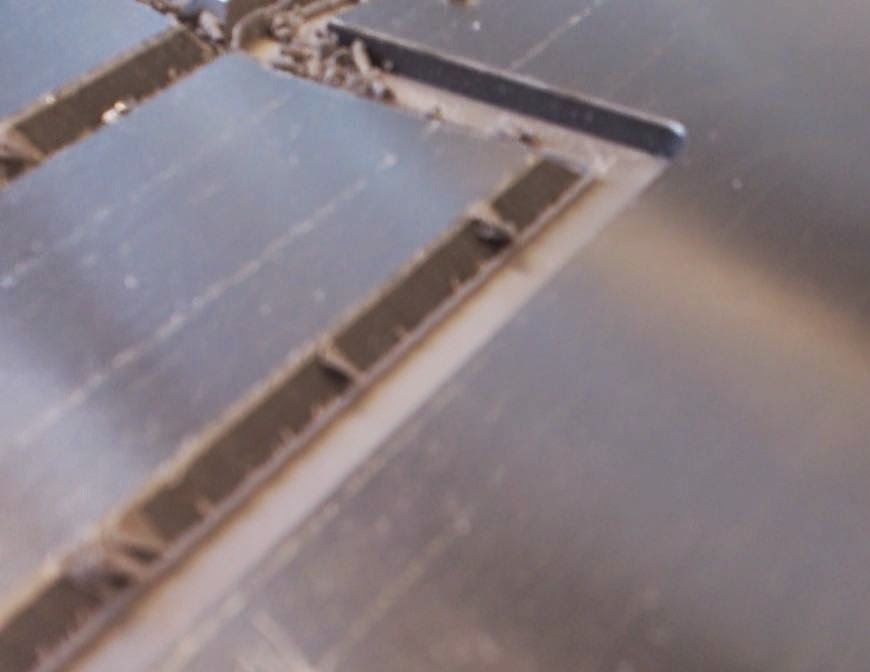
Milling the Sphere - After I cut the sphere and folded the Alucobond, I was able to take accurate measurements of the Alucobond and transfer them over to the smaller segment of the sphere's inside face, ready to be cut. The technique was easy enough. Back and forth, while only ever entering a cut from the outside, never breaking through the surface of the sphere from the inside to avoid chipping the finish. The next step is to chisel out the remaining material which is left in the middle. I chose not to use the milling machine to cut any angular paths, simply because it would likely take just as long as doing it by hand and I don't have access to the workshop all the time. I also have to chisel in the angle which will be visible to the outside edge that contacts the sphere.


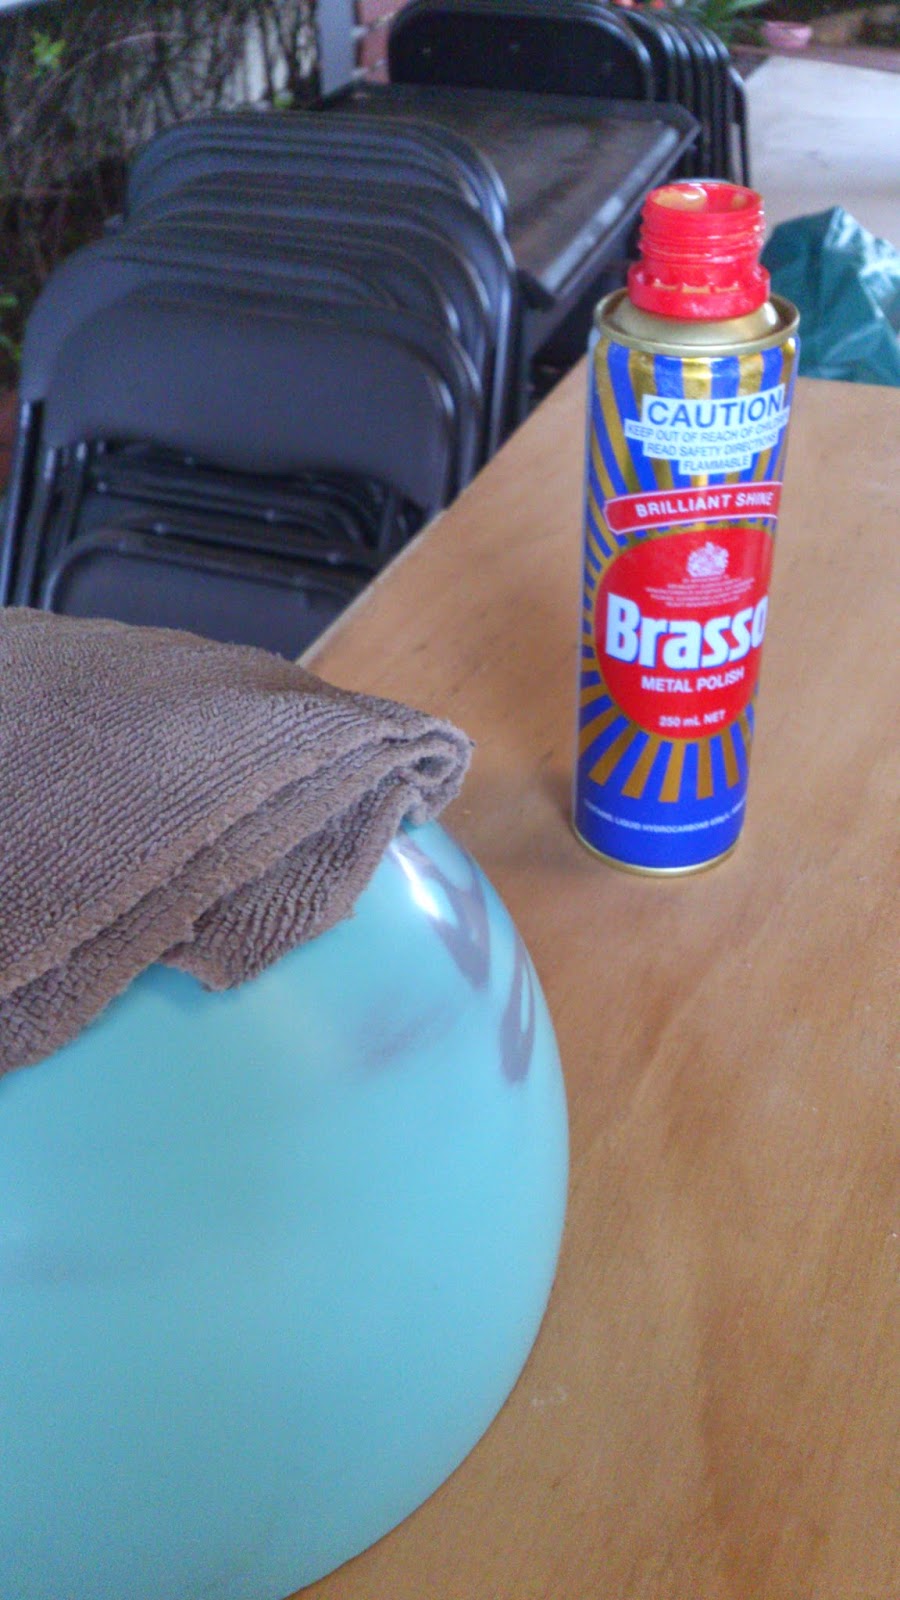
Polish and Latex the Sphere - Also this week, I used a cut polish to shine up the larger portion of the sphere and started coating it in latex to make my mold. I managed to get it to a finish that looked like a bowling ball. Hopefully the surface finish will carry through my latex and into the cement when I cast it. I tried to show the shine clearly in the last image. Look for the reflection of the brasso bottle.


Milling the Sphere - After I cut the sphere and folded the Alucobond, I was able to take accurate measurements of the Alucobond and transfer them over to the smaller segment of the sphere's inside face, ready to be cut. The technique was easy enough. Back and forth, while only ever entering a cut from the outside, never breaking through the surface of the sphere from the inside to avoid chipping the finish. The next step is to chisel out the remaining material which is left in the middle. I chose not to use the milling machine to cut any angular paths, simply because it would likely take just as long as doing it by hand and I don't have access to the workshop all the time. I also have to chisel in the angle which will be visible to the outside edge that contacts the sphere.
Polish and Latex the Sphere - Also this week, I used a cut polish to shine up the larger portion of the sphere and started coating it in latex to make my mold. I managed to get it to a finish that looked like a bowling ball. Hopefully the surface finish will carry through my latex and into the cement when I cast it. I tried to show the shine clearly in the last image. Look for the reflection of the brasso bottle.
No comments:
Post a Comment